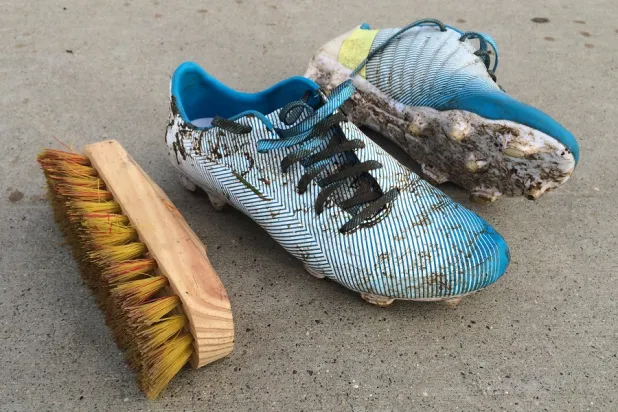
Soccer cleats are an indispensable component of a player’s gear, enduring considerable wear and tear during matches and practices. To preserve their functionality and longevity, regular cleaning is essential. This comprehensive guide outlines the steps to effectively clean soccer cleats, ensuring they remain in peak condition for an extended period.
1. Gather Your Cleaning Supplies
Before initiating the cleaning process, ensure you have the necessary supplies:
- A soft-bristle brush or an old toothbrush
- Mild soap or cleat-specific cleaning solution
- Warm water
- Towel or paper towels
- A soft cloth or sponge
- Newspaper (optional)
2. Remove Excess Dirt and Mud
Post-match or practice, cleats often accumulate dirt, mud, and grass. Take the following steps to eliminate this debris:
a. Gently tap the cleats together using your hands or a brush to dislodge loose dirt and mud.
b. Utilize the soft-bristle brush or toothbrush to meticulously scrub away dirt from the cleat’s crevices, studs, and grooves.
3. Prepare a Cleaning Solution
Create a cleaning solution by combining warm water with a small amount of mild soap or a cleat-specific cleaning solution, avoiding harsh chemicals that could harm the cleat materials.
4. Clean the Uppers
The uppers, comprising the exterior surface of the soccer cleats, can accumulate dirt and sweat. Clean them as follows:
a. Dip a soft cloth or sponge into the soapy water solution.
b. Gently wipe down the uppers, focusing on areas with stains or discoloration.
c. Rinse the cloth or sponge regularly, changing the cleaning solution if it becomes too soiled.
5. Clean the Soleplate and Studs
The soleplate and studs play a crucial role in traction and stability. Clean them with the following steps:
a. Dip the soft-bristle brush or toothbrush into the soapy water solution.
b. Scrub the soleplate and studs, ensuring the removal of any dirt or grass buildup.
c. Pay close attention to the areas between the studs, where dirt often accumulates.
6. Rinse and Dry
After cleaning, it’s imperative to rinse off any remaining soap residue:
a. Use a clean, damp cloth or sponge to wipe away the soapy water from the cleats.
b. Ensure thorough rinsing to remove all soap.
7. Dry Properly
Proper drying is essential to prevent odors and mold growth. Follow these steps:
a. Use a towel or paper towels to pat the cleats dry, removing as much moisture as possible.
b. Preserve the cleats’ shape by stuffing them with newspaper or a shoe tree, aiding moisture absorption and maintaining their form.
c. Place cleats in a well-ventilated area at room temperature, avoiding direct sunlight or heat sources to prevent material damage.
d. Allow cleats to air dry completely before wearing them again.
8. Post-Cleaning Maintenance
After cleaning, consider these maintenance tips:
- Apply leather conditioner or cleat-specific protectant to keep the uppers supple and prevent cracking (if your cleats are made of leather).
- Check and tighten any loose studs or screws to ensure the soleplate is secure.
- Store cleats in a cool, dry place when not in use.
Regular cleaning and maintenance ensure that soccer cleats not only endure but also consistently deliver optimal performance on the field. With proper care, cleats can remain in top shape throughout the soccer season, contributing to an extended lifespan and continued player satisfaction.
Originally posted 2023-09-19 20:36:43.
