
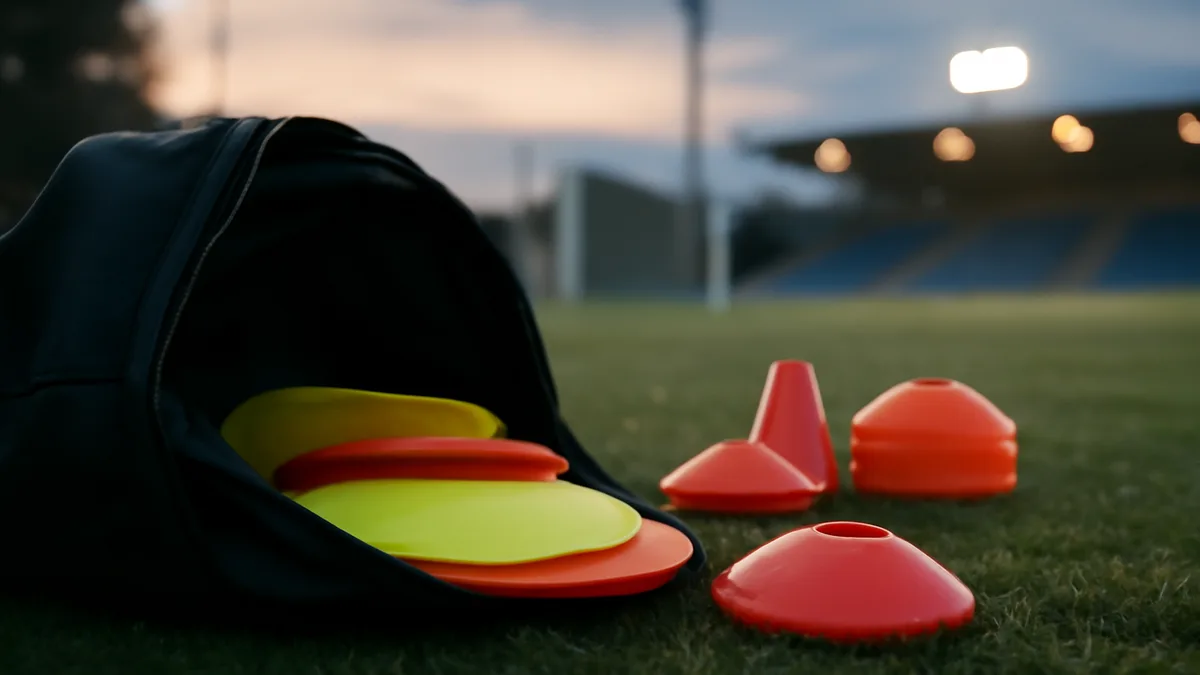
Choosing how to mark a pitch comes down to three things: visibility, durability and the surface underfoot. Decisions that prioritise one of those will often sacrifice another — very visible temporary spray is not durable; heavy rubber cone systems resist wind but are bulky to carry. This guide sets priorities and then walks through the gear and techniques most teams use.
Read it as a checklist before packing a kit bag. Each numbered point is a discrete decision a coach can make on its own: pick the type of marker, then the size of the area, then the fixings and tools. The final sections explain common mistakes, how beginners should simplify choices, and what to put in a coach’s carrying kit.
How to decide which markers matter
Start with the session and the surface. Outdoor grass that is cut short tolerates coloured flat discs and cones; long grass and wind favour weighted markers or poles; artificial turf needs flat markers or specially designed stakes to avoid damage. Next, choose visibility level: bright colours increase contrast in poor light. Finally, pick how permanent the marking should be — temporary markers for one-hour drills, semi-permanent for a week of sessions, and paint or chalk only where a formal pitch is required.
Priority checklist: order of decisions
The sequence below carries meaning: first decide the marker type that suits the surface; then the size of the practice area; then the accessories and packing choices that make set-up efficient.
Flat disc markers
Flat disc markers offer the best compromise between portability and on-pitch safety. They sit low to the ground so players do not trip, stack for transport, and work on grass and artificial turf. Choose discs in at least two contrasting colours so lines, gates and targets can be defined without confusion.
Cones (tall cones)
Tall cones are more visible at a distance and act as small obstacles players can dribble around. They blow over in strong wind unless weighted. Cones are useful for outlining corridors and goal areas but are less comfortable to step on underfoot than flat discs.
Slalom poles and marker poles
Poles provide vertical reference and clear directional cues in dribbling or running drills. They require either a weighted base or ground pegs. Use poles where visibility from a distance matters or to create temporary goals that mimic defenders’ positions.
Spray paint and line chalk
Spray paint and chalk create crisp, semi-permanent lines for formal small-sided pitches. They are most appropriate when the same layout will be used repeatedly or when clear boundaries matter for refereed matches. Avoid spray paint on artificial surfaces unless a product is explicitly designed for that surface.
Rope, tape and pegged boundaries
Rope or flat tape pegged into the turf gives a clear linear edge without paint, and it works for rehearsed training sequences where trip risk is managed. This option is heavier to carry and slower to set up, but it prevents marking damage to natural grass and removes instantly at session end.
Portable goals and target nets
Portable pop-up goals or frames turn a marked area into a coherent training pitch. They fix the idea of a game instead of a drill. Lighter pop-up goals are easiest to carry; framed goals are more stable in wind and suit longer-term setups.
Dimensions for small-sided games
Small-sided dimensions vary with age, player numbers and coaching aims. Rather than a single size, use these commonly accepted ranges as a starting point: for very small numerical formats (3v3) use an area around 10 by 15 metres; for 5v5 aim roughly 20 by 30 metres; 7v7 commonly sits near 40 by 60 metres; 9v9 and 11v11 require progressively larger areas. Adjust width and length to influence play — a wider area creates more crossing and lateral play, a narrower pitch emphasises combinations and quick passing.
Table: how common marker types compare
| Marker type | Visibility | Durability on grass | Portability |
|---|---|---|---|
| Flat discs | High close-up, medium at distance | Good | Excellent (stackable) |
| Tall cones | High | Good, can be blown over | Good |
| Poles | Very high | Very good if pegged | Moderate (bulky) |
| Spray paint/chalk | Very high (crisp lines) | Variable (weather-dependent) | Poor (requires tools) |
What most coaches carry
- Marker mix: A stack of flat discs plus a few tall cones to mark gates and goals for visibility in drills.
- Measuring tape: A retractable tape or pre-measured string to lay out accurate pitch dimensions quickly.
- Portable goals or posts: Lightweight pop-up goals for small-sided games and framed goals for longer sessions or windy days.
- Fixings and tools: Pegs for poles, a small mallet, and a roll of tape or rope for ad-hoc boundaries.
- Kit bag organiser: A bag with compartments so discs, cones and poles are separated and quick to find.
Where people go wrong
Coaches often pick the most visible solution without testing durability. Bright spray lines look great but can wash out in rain; tall cones look clear but scatter in wind and disrupt drills. Another common error is carrying too many types: each additional marker type increases set-up time and the chance of missing an item. A small, well-chosen kit usually outperforms a large, chaotic one.
Advice for beginners and for experienced coaches
Beginners should keep the system simple: choose one flat colour for general markers and one contrasting colour for goals and gates, carry one pair of pop-up goals and a tape measure, and rehearse a single, repeatable layout. Experienced coaches can layer complexity: use poles for directional cues, spray for semi-permanent lines, and multiple colours to build game-realistic channels and pressing zones.
What to do next
Decide the surface and the session’s primary coaching aim, then pick a core kit: flat discs, two tall cones, a tape measure and one set of portable goals. Pack these first. If conditions make visibility or permanence a priority, add poles or a small can of line chalk. Practice setting up the layout in under five minutes so the first five minutes of the session are coaching time, not measuring time.
For reference on legal pitch dimensions and formal layouts consult the official guidance used by referees and leagues where required — the phrase Association football pitch is the standard terminology used in those sources and the phrase small-sided games is widely used when determining appropriate area sizes.
Frequently asked questions
What markers suit artificial turf?
Flat, low-profile markers are best for artificial turf because they minimise risk of damage and reduce trip hazards. Avoid heavy pegs or paint products that are not specified for synthetic surfaces.
How large should a 5v5 training area be?
A common 5v5 area is roughly 20 by 30 metres, but coaches should adjust width and length to emphasise possession or wide play. Use the area to control player density rather than fixating on an exact size.
Which markers are easiest to transport?
Stackable flat discs and a small set of pop-up goals are the most portable combination, because discs save space and pop-up goals fold down to a compact size for a single coach to carry.
