
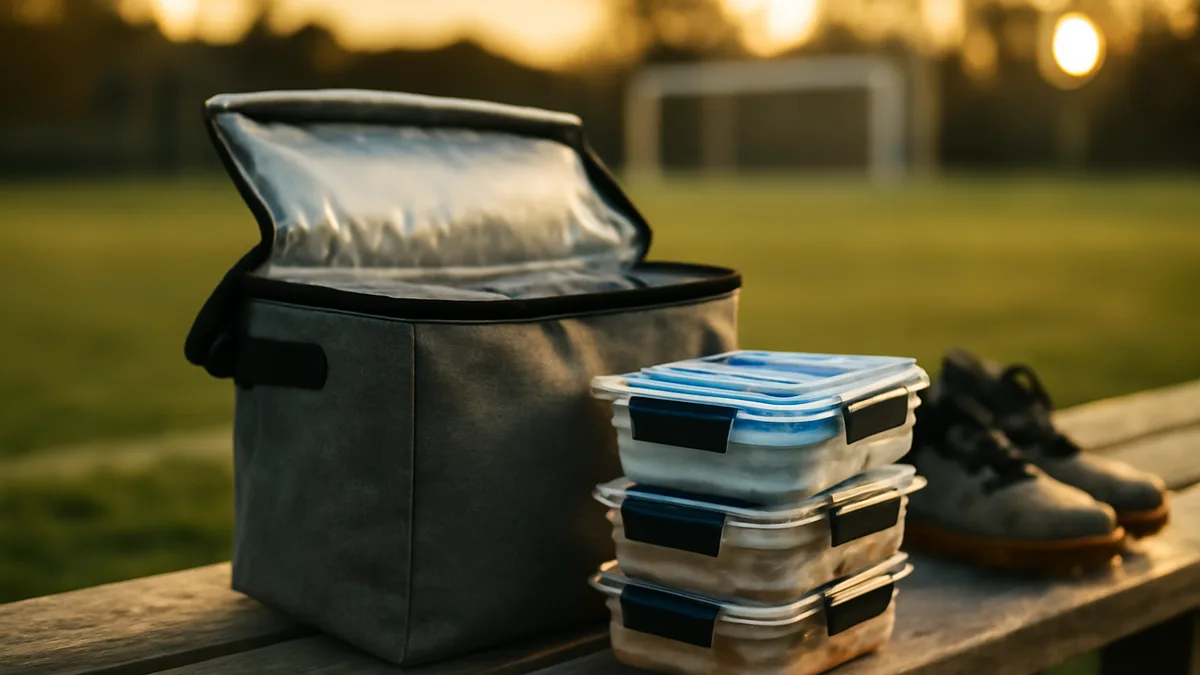
Packing five days of meals for training requires choices that trade off weight, durability and convenience. The decision rests on three things: how meals will be stored and reheated, how precise portion sizes must be, and how much washing and carrying is acceptable.
This guide lists the kit in order of importance and explains how to match features to routine. It names widely recognised product characteristics, not models or prices, so the kit works whether the preference is minimalist or kit-heavy.
How to decide what really matters
Start from the daily flow: prepare once, carry daily, and reheat or eat cold. If a week’s worth of food will be stored together in a fridge, leak resistance and stackability rise in importance; if meals are prepared and frozen, freezer-safe construction matters more. Consider where reheating happens — team kitchens with microwaves need microwave-safe containers; clubs that allow only oven reheating require ovenproof dishes or separate meal choices.
Also weigh carrying effort. A heavy insulated cool bag keeps food colder for longer but becomes a burden for cycling or public transport. A lighter cool bag with scheduled ice-pack swaps suits car travel or short commutes. Finally, take food allergies, dietary rules and portioning goals into account before buying single-use items: repeated use makes investment in durable kit pay back faster.
Six priority kit choices
Containers with a secure seal
Choose containers that lock and seal tightly to stop leaks and protect texture. Look for containers with clip lids or silicone gaskets and a reputation for keeping liquids separate from solids; stackable shapes save fridge space and reduce the chance of spills when packed in a bag.
Material suited to reheating and storage
Pick the container material to match how meals will be reheated and stored. Glass is the usual choice for oven or microwave reheating and resists staining and odors; rigid plastic wins for light weight and drop resistance, and stainless steel is best where durability and thermal properties matter but microwave use is not required.
Cool bag sized to the week
Buy a cool bag that fits five meal containers plus a few snacks without compressing them. A bag with a structured base and thermal lining keeps containers upright and makes it easier to use ice packs effectively; consider a bag with an external pocket for utensils and supplements to avoid opening the main compartment frequently.
Ice packs and frozen bottles
Use reusable ice packs designed to reach low temperatures quickly and remain flexible at cold temps. Solid frozen water bottles are a cheap, space-efficient alternative that also add thermal mass; place these between containers to keep the middle of the stack cold rather than just the edges.
Portioning tools for consistent meals
Adopt a portioning method that matches training intensity and recovery goals. Use a kitchen scale for precision and a set of small portion containers or silicone moulds for repeatable carbohydrate and snack portions, because consistent portion control helps with recovery planning and grocery shopping.
Reheating and utensil strategy
Match utensils to the most common meal format to avoid single-use cutlery. Collapsible or lightweight metal utensils and a small microwave-safe lid for splatter control let meals be reheated safely; where microwaves are unavailable, choose containers compatible with stove-top or oven reheating or prepare meals meant to be eaten cold.
Cleaning and storage kit
Include a compact kit for washing and drying: a small brush for lids and seals, biodegradable detergent in a travel bottle, and a mesh bag to keep wet containers separate after use. Regular cleaning prevents smells and staining and reduces the risk of cross-contamination between meals.
Comparing container materials
| Material | Weight | Microwave/oven safe | Durability / leakproof |
|---|---|---|---|
| Glass | Heavier | Microwave and oven safe | High durability, good seal with correct lids |
| Rigid plastic | Light | Often microwave safe (check label) | Moderate durability; seals vary by lid design |
| Stainless steel | Moderate to heavy | Not microwave safe | Very durable and often leak-resistant |
Where people go wrong
Common mistakes start with mismatching container features to the routine. A light weekender bag and fragile glass containers are a bad combination if commuting involves crowded trains; conversely, buying a heavy, roll-top cooler for someone who leaves meals in a workplace fridge is unnecessary. Another frequent error is underestimating condensation: warm meals placed in a cool bag without separators will sweat into other items and often make crisp foods soggy.
Another practical error is over-portioning. It wastes fridge space and makes the carry load heavier for no performance gain. Conversely, under-portioning can leave a player without sufficient post-session calories and requires mid-day snack stops, which adds cost and hassle.
Food labelling is also overlooked. Label containers with meal name and day to avoid repeated decisions under time pressure and to prevent accidental mixing of allergens between days. Attention to these details reduces stress and helps maintain consistent nutrition through a busy week.
Beginner versus experienced setups
Beginners should prioritise simplicity: a set of three containers that stack, one medium cool bag, a pair of ice packs and a basic utensil set covers most needs without excessive kit. This keeps the routine sustainable while learning portion sizes and preferred meals. Experienced users tend to specialise: multiple container sizes for macro-controlled meals, a heavy-duty cool bag with dedicated compartments, and separate boxes for sauces to preserve texture.
- Minimalist setup: One or two container sizes and a small cool bag make packing quick and reduce washing time.
- Performance setup: Multiple containers, portioning moulds and an accurate scale support targeted macronutrient planning.
- Travel setup: Durable containers and extra ice packs suit long commutes and overnight trips.
What to do next
Decide which reheating method will be used most often and choose container material accordingly, then pick a cool bag sized to hold five stacked meals plus two ice packs. Buy a simple portioning tool or scale and try a single week of meals to test weight, fit and cleaning time. After that trial week, keep what was useful and replace or add one item at a time: a better seal, a different bag, or a dedicated utensil set — small changes that align kit with actual habits.
Frequently asked questions
What containers leave least odour and stains?
Glass containers resist staining and odours better than plastic, so they suit strongly flavoured meals and repeated use. They are heavier to carry but easier to clean fully and are generally safe for oven or microwave reheating.
How many ice packs are needed for five days?
Aim to place ice packs between rows of containers so cold reaches the centre of the stack rather than only the edges. The exact number depends on bag size and ambient temperature, but arranging packs around and between food is more effective than adding extra packs in one place.
Can stainless steel be used for reheating?
Stainless steel containers are durable and keep food insulated but cannot be used in microwaves. Plan meals that can be eaten cold or reheated by other means if choosing stainless steel for day-to-day use.
